The hardest part of a first vegetable garden isn’t the growing: it’s the pile of decisions standing between you and the first seed going into the ground. If you’re looking into how to start a vegetable garden for beginners, here’s the honest version: pick a sunny spot, start smaller than feels ambitious, get the soil right, and know your dates before you plant anything. This guide walks through that sequence in order, with a link to a deeper guide or calculator at every step where one already exists on this site.
Step 1: Find the Sunniest Spot You Have
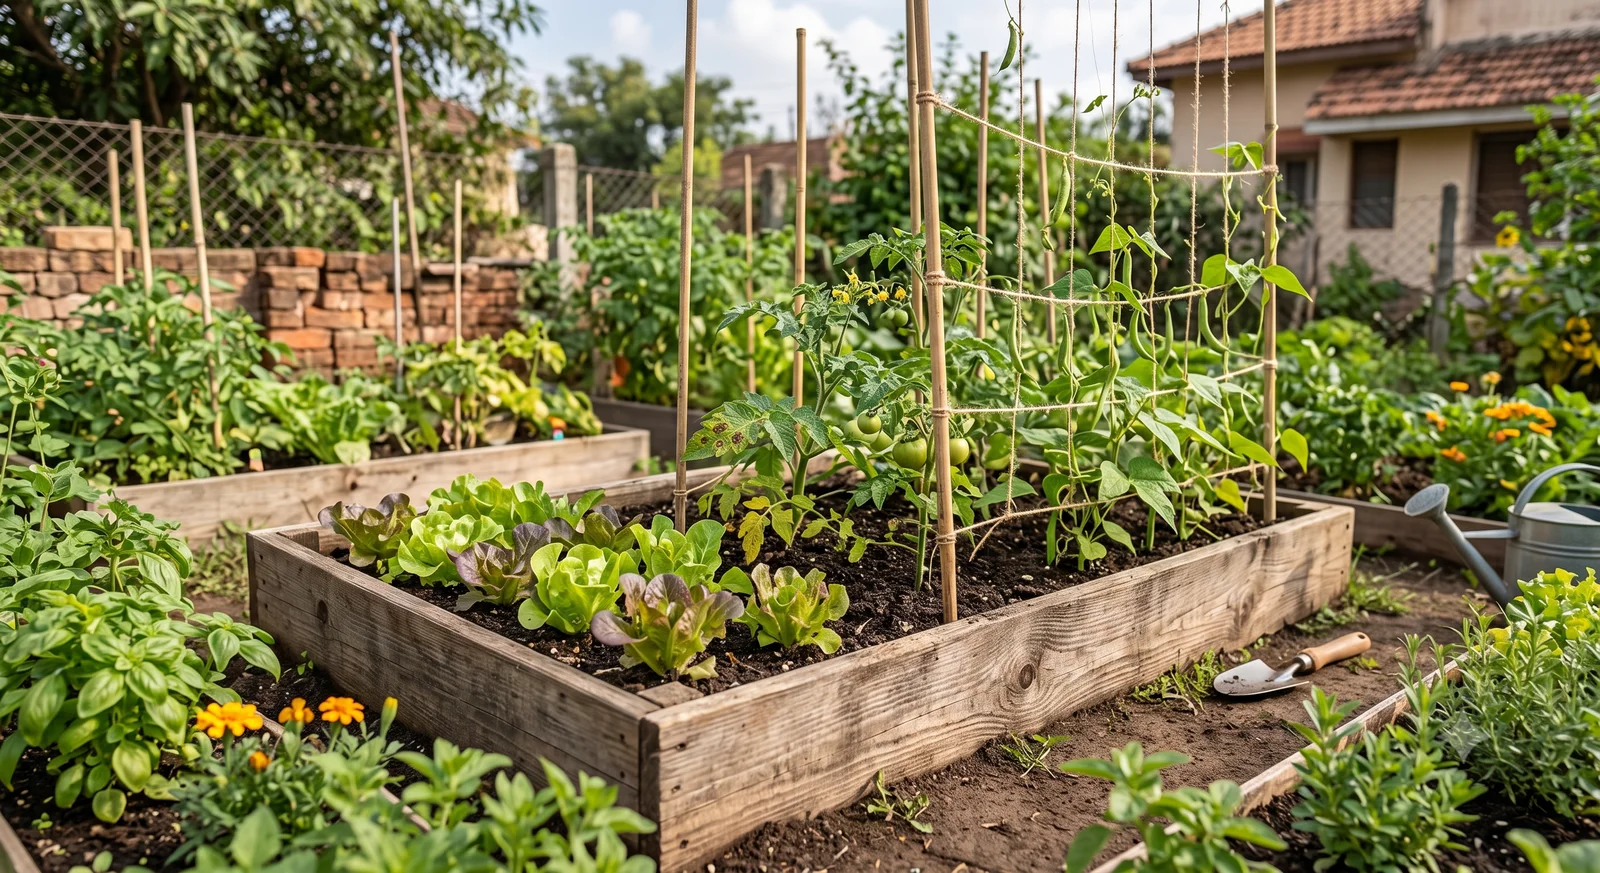
Sun matters more than soil, and this is the part beginners most often get backwards: soil can be fixed in an afternoon with compost and amendments, but you can’t fix a shady yard. Most vegetables need 6–8 hours of direct sun a day. Fruiting crops (tomatoes, peppers, cucumbers, squash) need the most, right at that top end or more. Leafy greens and root crops are more forgiving and can tolerate 4–6 hours. Put plainly: a small bed in full sun outperforms a large plot in partial shade, every time.
A practical way to verify a spot before committing to it: photograph it at 8am, noon, and 4pm on a sunny day. Full, direct sun in all three photos means it’s a keeper. Partial shade in even one of them is worth knowing about before you build anything there.
Watch for tree competition, too. A mature tree’s roots compete aggressively with vegetables for water, and its canopy blocks light even where it doesn’t look like it should. Vegetable growing gets genuinely impractical within roughly 20 feet of a large tree. And per the University of Georgia Extension, there’s a practical reason beyond sunlight to favor a spot near a door you actually use: you’re far more likely to keep up with weeding and watering a garden you pass by every day than one tucked in a distant corner of the yard.
Step 2: Start Smaller Than You Think
The single most common beginner mistake is planting too much. It’s an easy trap: seed packets are cheap, a bare plot looks like it has endless room, and it’s hard to picture how much work twenty tomato plants actually turn into in August. If you’re wondering how to start a small vegetable garden, the practical answer is: smaller than feels ambitious, on purpose.
Concrete starting sizes that work well for a first year: a 4×4 or 4×8 raised bed, a 10×10 in-ground plot (100 sq ft), or 3–5 containers of at least 12 inches. The University of Maryland Extension recommends 50–75 square feet as a good starter size, on the smaller end of those options, and that’s intentional. Pick 3–5 vegetables for your first season, not fifteen.
One honest note: it’s far easier to expand a garden that worked than to rescue one that overwhelmed you in June and got abandoned by August. A small, well-tended bed that actually produces food teaches you more than a large one you can’t keep up with.
Step 3: Choose Your Garden Type
Whether you’re working from a bare yard or converting an existing flower bed, how to start a vegetable garden from scratch really comes down to picking one of three garden types, each with real tradeoffs.
In-ground. Cheapest to start: no lumber, no bagged soil mix, just the ground you already have. The tradeoff is that you’re working with whatever soil quality your yard happens to have, which for a lot of yards means compacted, poorly draining, or nutrient-poor dirt that needs real work before it grows anything well.
Raised beds. The usual recommendation for beginners, because they sidestep poor native soil entirely: you fill the bed with a soil mix you control from day one. They also warm up earlier in spring and drain better than most native soil. The tradeoff is upfront cost (lumber or another enclosure, plus soil to fill it) and a bit more building effort before you plant anything. Our Raised Bed Soil Calculator works out exactly how much soil mix a bed of any size needs, and if tomatoes are on your list, our Growing Tomatoes in Raised Beds guide covers bed-specific spacing and depth.
Containers. The most accessible option if you don’t have yard space at all, or want to start smaller than even a 4×4 bed. Full control over soil, easy to move for sun, but they dry out faster and need more frequent attention than beds or in-ground plots. More on this in the container section below.
Step 4: Test and Prepare Your Soil
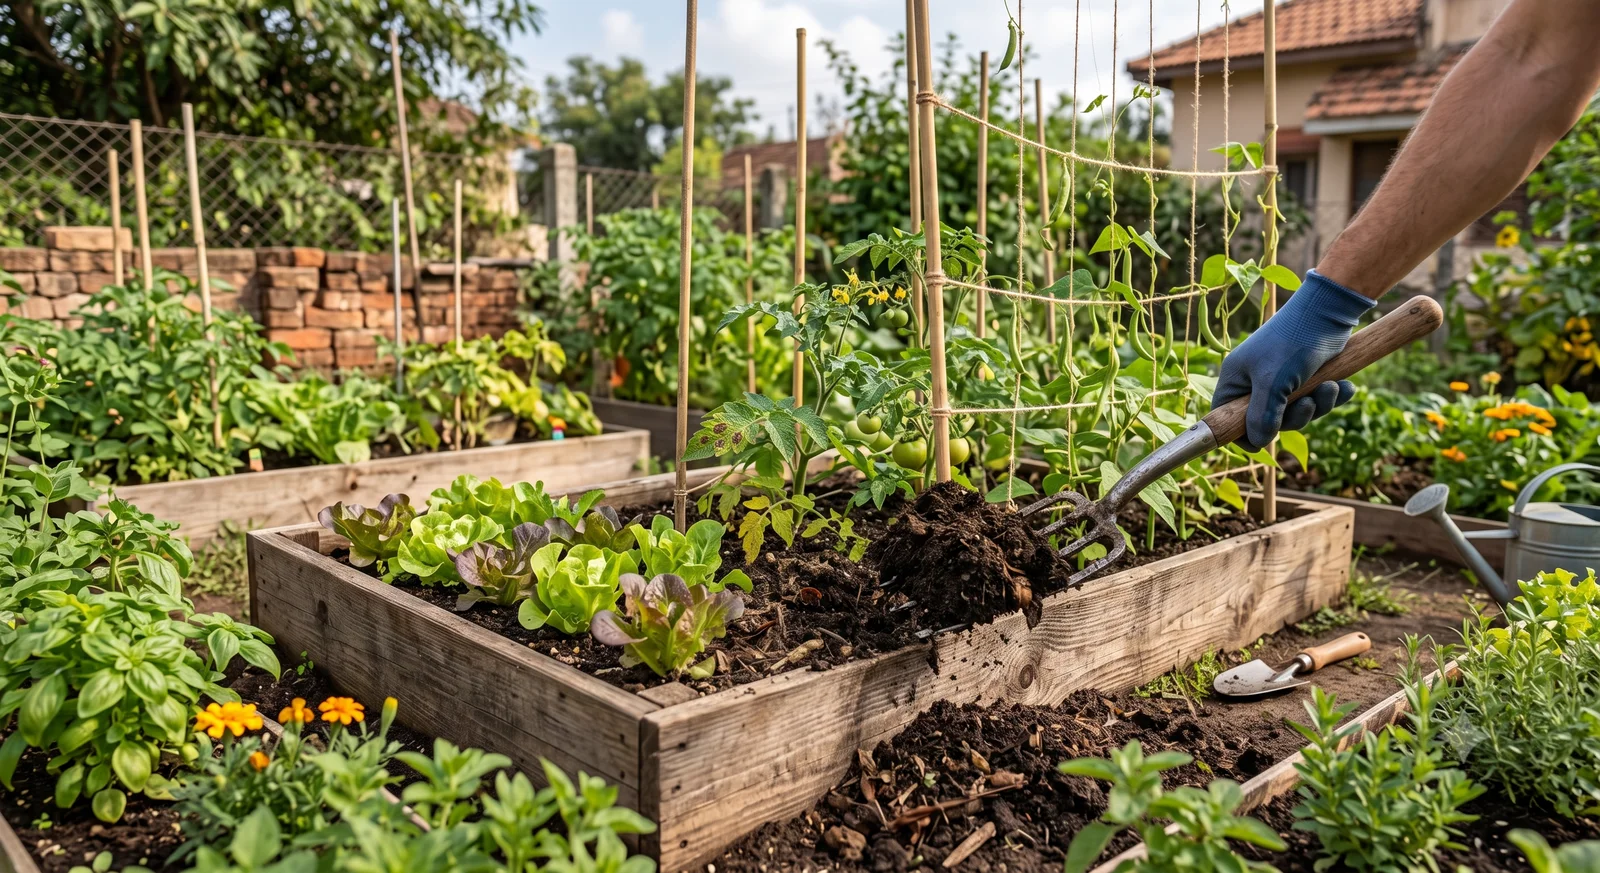
An important safety point most beginner guides skip entirely: per the University of Maryland Extension, have your soil tested before growing food in it: not just for nutrients and pH, but for lead. Soil should measure under 400 ppm of lead to be considered safe for food crops. This matters especially near older homes, building foundations, and former structures, where lead paint and old construction debris can leave soil contaminated well above that threshold in a way that’s completely invisible just by looking at it. Our Soil Test Results article walks through reading a soil test once you have one, and our Soil Type Calculator helps you understand the texture you’re working with.
If you’re converting a lawn area, you’ve got two options for removing the sod. Turn it under with a shovel or tiller. Don’t just discard it, since sod contains valuable topsoil and organic matter that’s worth keeping in the bed. Or smother it: cover the grass with cardboard or newspaper, then top that with 2–4 inches of compost, and let it break down over several weeks instead of digging it out.
If you’re starting from bare ground with no grass to remove, work in at least 2 inches of compost before planting, and add a thin layer again each time you plant something new. Our Compost Calculator works out how much you’ll need for a bed of any size, and our Topsoil vs. Garden Soil article explains the difference if you’re buying soil in bulk rather than building it from what’s already there.
Step 5: Find Your Frost Dates and Zone
This single piece of information prevents more first-year failures than anything else on this list. Plant warm-season crops like tomatoes and peppers too early and a late frost kills them outright; plant cold-hardy crops like lettuce too late in spring and they bolt in early heat before you get a real harvest. Almost every timing mistake a beginner makes traces back to not actually knowing this date.
Our Frost Date Calculator estimates your average last spring and first fall frost by ZIP code, and our Hardiness Zone Finder tells you which USDA zone you’re in, which is what most seed packets and plant tags reference for timing and perennial survival. Look both up before you buy a single seed packet. The rest of this guide, and most of the crop guides linked below, build directly on these two numbers.
Step 6: Pick What to Plant First
The practical advice here is simple: grow what you actually like to eat, and what’s expensive to buy. A vegetable you don’t enjoy eating isn’t worth the bed space no matter how easy it is to grow. That said, some crops are genuinely more forgiving for a first season than others:
Lettuce. Fast and forgiving: you’ll see results within weeks, not months. See our How to Grow Lettuce from Seed guide.
Green beans. Easy to grow and direct-sown straight into the bed, no indoor seed-starting required. See our How to Grow Beans from Seed guide.
Radishes. About as fast and low-effort as vegetables get: often ready to harvest within a month of sowing.
Carrots. A bit more particular about soil, but genuinely rewarding once you get the technique down. See our How to Grow Carrots from Seed guide.
Cucumbers. Productive and fairly forgiving, with the flexibility to direct-sow or transplant. See our How to Grow Cucumbers from Seed guide.
Tomatoes. Not the easiest crop for a beginner, but far and away the most commonly grown for a reason: homegrown tomatoes are dramatically better than what you can buy. See our How to Grow Tomatoes from Seed guide.
Peppers. Similar to tomatoes in care but slower to get going, so plan for a longer indoor head start. See our How to Grow Peppers from Seed guide.
Zucchini and other summer squash. Extremely productive once established, to the point of being a running joke among gardeners about giving away the surplus. A single plant or two is usually plenty for a household.
Step 7: Lay Out Your Garden
Spacing isn’t just about fitting more plants in: crowded plants compete for water and nutrients, and just as importantly, they trap humidity around the foliage that fungal diseases thrive in. Good airflow between plants is a real defense against disease, not just a nice-to-have. Our Plant Spacing Calculator works out proper spacing for your bed and the specific crops you’re growing.
One detail worth knowing if you went with a raised bed in Step 3: because the soil in a raised bed never gets compacted by foot traffic, roots spread more freely, and raised beds typically support roughly 20–30% tighter spacing than the same crop grown in traditional rows. That’s more food from the same footprint, which matters a lot in a small first-year bed.
Pairing compatible plants also makes better use of limited space and can help with pest control. Our Companion Planting Chart covers good and bad pairings for common vegetables and herbs. And if your bed is small, succession planting is the real way to keep it producing all season instead of getting one harvest and calling it done. Our Succession Planting guide covers staggered sowing and follow-up crops once an early one like lettuce or radishes finishes.
Step 8: Water and Mulch
Aim for about 1 inch of water per week, delivered as 2–3 deep soakings rather than light daily sprinkling. Deep, less-frequent watering drives roots downward in search of moisture, building a more resilient plant; a light daily sprinkle only wets the top inch of soil and keeps roots shallow and drought-vulnerable. Water in the morning when you can: foliage that dries out over the course of the day is far less hospitable to fungal disease than foliage that stays damp overnight. Our Drip Irrigation Calculator works out run time and delivery if you want to automate this instead of relying on a hose and memory.
Mulch 2–3 inches deep around your plants. It’s one of the highest-impact, lowest-effort things a new gardener can do: it holds soil moisture between waterings, suppresses weeds before they germinate, and moderates soil temperature swings. Our Mulch Calculator works out how much you’ll need for a bed of any size.
Growing in Containers, on a Balcony, or Indoors
If you’re working with a patio, balcony, or apartment rather than a yard, containers are a completely legitimate way to start a vegetable garden: not just a smaller-scale consolation option. A few things matter more in containers than in a bed. Use pots of at least 12 inches in diameter for most vegetables; anything smaller struggles to support a mature plant’s root system. Drainage holes are non-negotiable: a container without them turns any overwatering mistake into standing water sitting directly against the roots. And containers dry out meaningfully faster than garden soil, especially in full sun and wind, so watering attentiveness matters more here than anywhere else in this guide.
Our Pot Size Calculator looks up the minimum container size for specific vegetables so you’re not guessing, and our Soil Volume Calculator works out how much potting mix a container of any size needs.
Common First-Year Mistakes
Planting too much. The single most common mistake, covered in Step 2: it’s easier to underplant and expand next year than to abandon an overwhelming first season.
Choosing a shady spot because it’s convenient. Sun matters more than proximity or how easy a spot is to dig. A slightly less convenient full-sun spot beats a shady one right outside the back door.
Skipping the soil test. Especially the lead check near older homes and foundations: this is the one step that’s actually about safety, not just plant health.
Watering shallowly and often instead of deeply and less often. Covered in Step 8: shallow, frequent watering trains roots to stay near the surface, which makes plants more vulnerable to heat and drought stress later in the season.
Expecting perfection. Some plants will underperform, a few might fail outright, and that’s a genuinely normal part of a first season, not a sign you’re doing it wrong. Every failure teaches you something specific about your yard’s sun, soil, or timing that no guide can tell you in advance. If leaves start showing spots or yellowing partway through the season, our tomato leaf diagnostic guide is a good starting point for figuring out what’s going on.
5 free books · 120 pages, PDFs
Starting a Vegetable Garden FAQ
How do you start a vegetable garden from scratch?
Pick the sunniest spot you have, start with a small bed (50-75 sq ft is a good first-year size), test the soil before planting food in it, and know your last frost date before you buy seeds. From there, choose a garden type (in-ground, raised bed, or containers), prep the soil, and pick 3-5 beginner-friendly crops rather than a long wish list. This guide walks through the full sequence in order.
How big should a beginner vegetable garden be?
Smaller than feels ambitious. The University of Maryland Extension recommends 50-75 square feet as a good starter size, roughly a 4x8 or 4x4 raised bed, or a modest in-ground plot. It's much easier to expand a garden that's working than to rescue one that became too much to keep up with in its first season.
Can you grow vegetables in a north-facing garden?
It depends entirely on how much direct sun actually reaches the space, not the compass direction itself: a north-facing yard with no nearby buildings or trees can still get plenty of sun, while a south-facing yard shaded by a fence or tree may not. Check the actual light with the photograph-at-8am-noon-4pm method in Step 1 above. If your best spot only gets 4-6 hours, lean toward leafy greens and root crops rather than tomatoes or peppers, which want the most sun of any common vegetable.
How do you prepare soil for a vegetable garden?
Test it first, for both nutrients/pH and lead (soil should measure under 400 ppm lead to be safe for food crops). If you're converting lawn, either turn the sod under (it contains valuable topsoil and organic matter) or smother it with cardboard and 2-4 inches of compost. On bare ground, work in at least 2 inches of compost before planting, and add a thin layer again each time you plant something new.
What vegetables are easiest to grow for beginners?
Lettuce, green beans, and radishes are the most forgiving for a first season: fast to mature and tolerant of minor mistakes. Cucumbers and carrots are a reasonable step up. Tomatoes and peppers are the most commonly grown vegetables despite being more demanding, mostly because homegrown fruit is genuinely so much better than store-bought. See the guide for each crop in Step 6 above.
Sources & further reading
For the full step-by-step process, including the soil lead-safety guidance, see the University of Maryland Extension’s How to Start a Vegetable Garden. For general beginner planning and site selection, see Penn State Extension’s beginner vegetable gardening resources. For more on how we source and review the facts behind every calculator and guide on this site, see our methodology page. And for the full frost-date-to-harvest planning timeline once your garden is in the ground, see our complete guide to spacing and planting.